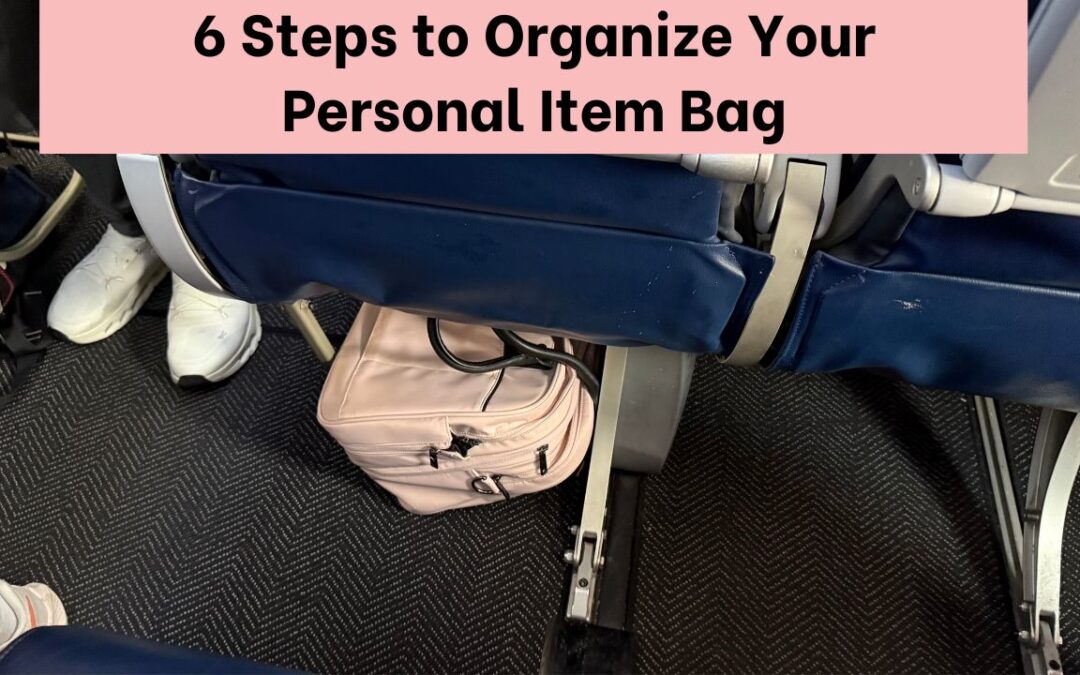
Your unorganized underseat bag could stress you out before your vacation has even begun, but with these 6 steps, you will have an order inside your personal item. Whether you will organize a backpack or tote bag as your one personal item allowed for the flight, this packing system will help you feel more organized.
1. Avoid Just Packing Your Luggage—Organize for the Flight First
If it’s been a while since you’ve flown, don’t fall into the trap of only packing for your vacation.
Your personal item bag isn’t just a cute, extra backpack—it’s your in-flight survival kit. What will you need during the flight?
Start by organizing for the flight itself, not just the destination:
- Create a section just for items you’ll need in your airplane seat. Pack those near the top of your bag. Alternative option: pack in the outer pocket like in my backpack and this bento bag.
- Use specific pockets or pouches for TSA screening. Keep those items within reach until after security.
- Keep essentials like chargers, snacks, and IDs where you can grab them fast while in a seated position. Sometimes your underseat bag has no method to the madness. You will be less stressed during the flight because you stressed less by organizing your personal item bag.
- What if your checked luggage is lost for a few days? All medication should be packed under the airplane seat. I’ll explain medicine rules in a bit.
- Travel Tip: use an under airplane seat bag that zips for 2 reasons:
- 1- Your essentials are contained, which means you will not lose something for your trip.
- 2- Thieves do not have easy access if you drift off to dream
Before you organize those items for the flight, do this:
- Look inside your tote or backpack: What pockets are actually accessible while seated?
- Match each pocket with the right shape item: Flat pockets for wipes or documents, stretchy ones for snacks or cables or a travel umbrella.
The benefit? Everything is intentionally packed with a system for the airplane.
2. Avoid disorganization in airport security.
The TSA Line is sometimes the most stressful part of travel.
Security lines in 2025 have streamlined the process, but the TSA wants to see everything clearly. Some screening machines are older and some are new and fast!
Before you even zip your tote bag:
- Pack a “TSA section”: One pocket just for your ID, boarding pass, and phone.
- Show those items to the TSA officer and then put them right back in that zipped pocket or my travel tip – put those valuables in a pocket that is in the inside of your bag and zipped. But it’s easy to get to.
- Medicine bag: In the US, the TSA does not want to see your pills. They are not looking for illegal pills. If you fly with a controlled substance pill, definitely have the prescription. But JUST IN CASE the TSA needs to see your meds, packing them in one bag or location makes your life easier. After security, you can put them in little areas in your personal item.
- WARNING: If you use a new personal item bag, be prepared to feel unorganized for that first time because your system has been interrupted. But the next flight, you will be back to feeling with it and back to normal.
For a Long Flight One organizing travel tip for medication I did is this:
I packed one section of my pill organizer with only the nighttime meds and early morning meds, so I had those separate from the other locations.
- Here is a medicine rule clarification:
- The rule for prescription medication that is liquid is:
- 1. It does not have to be in the quart-sized liquids bag and
- 2. Just tell the officers you have liquid medicine. Depending on the age of their screening machines, you may have to pull them out and put them in the gray bin for more accurate screening. But definitely have the prescription too.
- The rule for prescription medication that is liquid is:
- Pull out items you’ll need: You may need to pull out your clear liquids bag (3.4 oz rule still applies, but they may not want you to pull it out that day), laptop, and maybe the portable charger depending on the country you visit.
- Travel tip: Portable chargers cannot be in checked luggage. The TSA may adopt the newer Asian model of having you put your power banks in one of their bags for screening. Stay tuned for travel updates like that from me.
The Benefit? You move through TSA without stressing yourself out before your vacation begins.

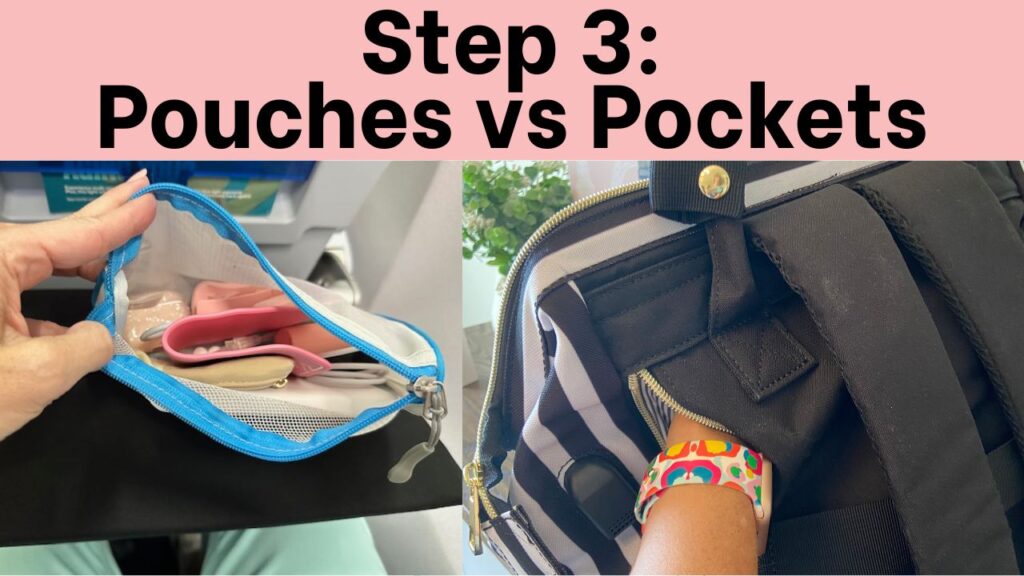
3. Pouches vs Pockets
You can organize travel essentials into pouches according to a category.
What pouches do you travel with? Does one say FLY on it? Do you have a pink pouch? It may be because they are cute like I used to think. Pouches help you have an organized bag so they are step 3 of your packing system.
Use:
- Clear pouch for TSA-approved liquids. It has to be quart-sized and has to zip.
- Travel tech pouch for charger, AirPods, blocks, and cords.
- One travel tip is you can split up your electronic cords into two pouches. Your AirPods and power bank and AirPods cord for sleeping could go in your airplane seat back pocket pouch.
- Travel tip: Pull out ONLY that pouch when you get to your seat. Then add your reading glasses and phone prop, and you are set for the flight.
- Small pouch for inflight essentials (think: lotion and eye drops that you moved after airport security. You could pack a snack in that or eyeliner for the end of the flight).
- A Makeup travel case for touch ups at the end of a flight is a necessity for me after long flights.
This type of packing system is helping you already.
So far, every item has a home—so you never lose it.
These travel tips will help you be organized, but potentially fit more in your personal item bag!
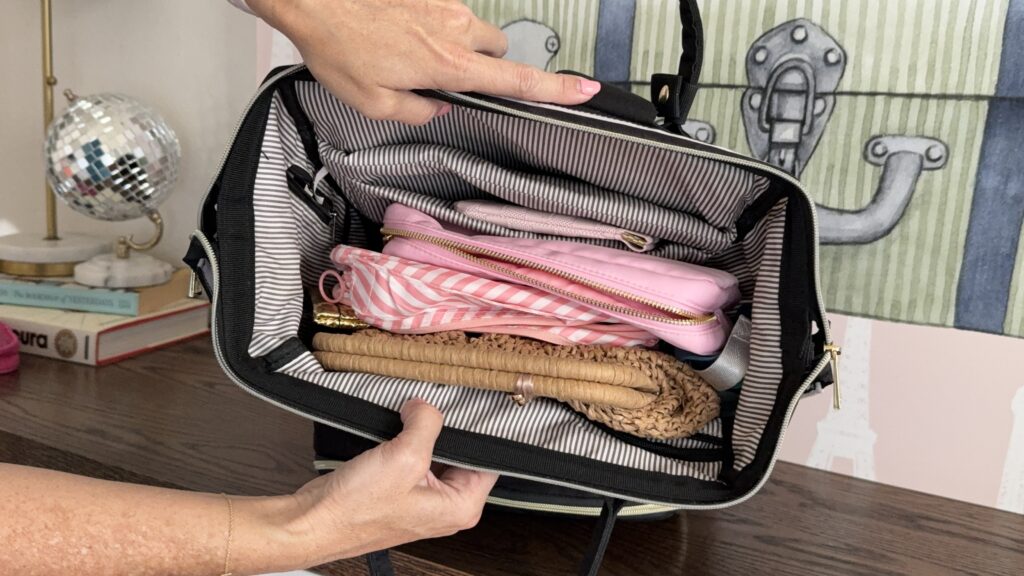
- Stack the pouches in your bag laying flat. What open pockets of space do you have?
- Now stand them all up like a filing cabinet drawer of hanging folders, and see which one opens up more space for you.
- Now, see if standing each pouch on its end gives you more room. Are the pouches too tall if you pack them that way?
4. Have a Tech Strategy
Electronics have become the focus of airlines—especially anything with a battery.
- Pack batteries in a bag that will stay IN the cabin of the airplane—never in checked luggage.
- Even if your carry-on luggage gets checked, take out the power banks or portable chargers. They can combust for no reason, or they may be defective.
- Do not forget your phone prop.
- Use decorative tape to pair cords with devices in your tech bag.
- My strategy is to separate my AirPods and power bank into my flight pouch and leave my other cords and blocks in a travel case.
5. Pack in the shape of a pyramid
Pack it in this order:
- Bottom layer: Compression cube with a backup outfit (in case of lost luggage).
- Inner pocket: TSA zone items—passport, phone, wallet, medicine.
- Top layer or outside pocket: In-flight pouch and liquids bag.
- Side pockets: Easy-grab snacks, tissues, pen, and umbrella for arrival weather.
After airport security, move your liquids bag down a few layers or pack it in your carry-on suitcase.
6. Stress-Test Your Bag at Home
Don’t wait for airport security to find out your packing system is not helpful for you.
Practice this step a few times:
- Practice taking out and then putting your phone, ID and ticket back in your personal item.
- Take out your laptop and liquids bag and take off your shoes. Now put everything back in your backpack.
- Zip everything back up.
- Slip your personal item onto your suitcase handle and walk hands-free.